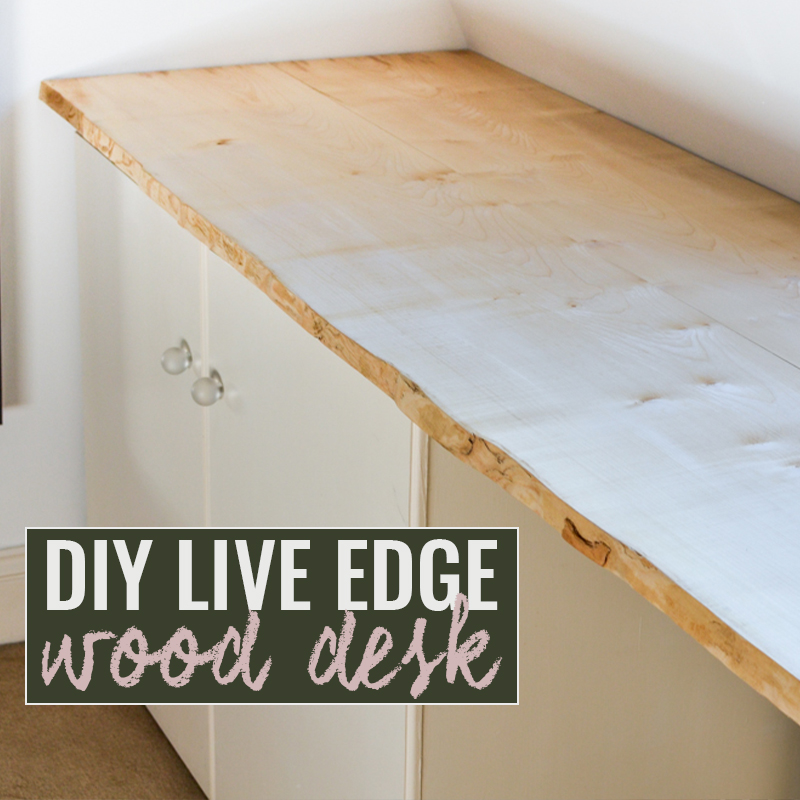
The master bedroom in my house has built-in cabinets either side of a Velux window. They’d become a catch-all for clutter, and they were crying out to be better utilised. So, I built a DIY live edge desk top to turn the space into a double-duty office and vanity area.

Where and How to Buy Live Edge Wood
Live edge wood (aka waney edge) is where the natural edge of the wood is kept rather than cut straight, leaving an organic edge, often with bark still showing.
There are plenty of places to buy live edge wood slabs – eBay is good, and even B&Q. But there are not a lot of places that stock anything over 3 meters long, which is what I needed for this desk.
Enter my new go-to timber yard, Surrey Timbers. So much lovely wood to choose from!
I settled on two planks of Sycamore, because I couldn’t get a single piece that was deep enough. I asked for one plank completely squared off and another keeping one waney edge intact.
Getting the Wood Home
It cost £330 for the wood, including cutting but excluding delivery. We live in a rental, and although this live edge desk is custom-built to perfectly fit the house, it’s also perfectly temporary. Nothing is attached.
Building the Desk Top
Once it was in the house, my handyman (hi Dad!) cut it to size exactly.
 Getting it up two flights of stairs was a bit of a challenge, but thankfully it just fit.
We attached the two planks together with seven metal brackets (like these) equally spaced on the underside. I also added furniture pads to the bottom of the desk, so the wood top won’t damage the built-in cabinets underneath.
Finishing the Live Edge Desk
The edges had been roughed up a bit when they ran it through the planer, so I sanded them down until there were no sharp edges but maintained as much of the waney edge as possible.


 We used a coarse grit sand paper on the edges, and a fine grit on top, then dusted it off so it was ready for oiling.

To protect the live edge desk, I liberally applied Danish oil using a rag.

Over the next couple of days, I gave it three more coats of Danish oil, sanding everything with fine grit paper in between each coat. The grain got more visible with each new layer. I might have spent some time just stroking it when we’d finished it (I did).

It dried just in time for me to style and shoot it for my One Room Challenge reveal.

The Desk is Done!
The live edge desk absolutely transformed this space, and made it much more useable.

I’ve set up one end as a vanity area. The other end will eventually be more work-oriented; I’m still sorting my tech out so I can really move my work space up here properly.


Side note: I do love that lamp. Almost as much as I love how the desk turned out.


More Fall 2016 One Room Challenge Posts
The desk is part of a six week room transformation. Read more in these posts:
