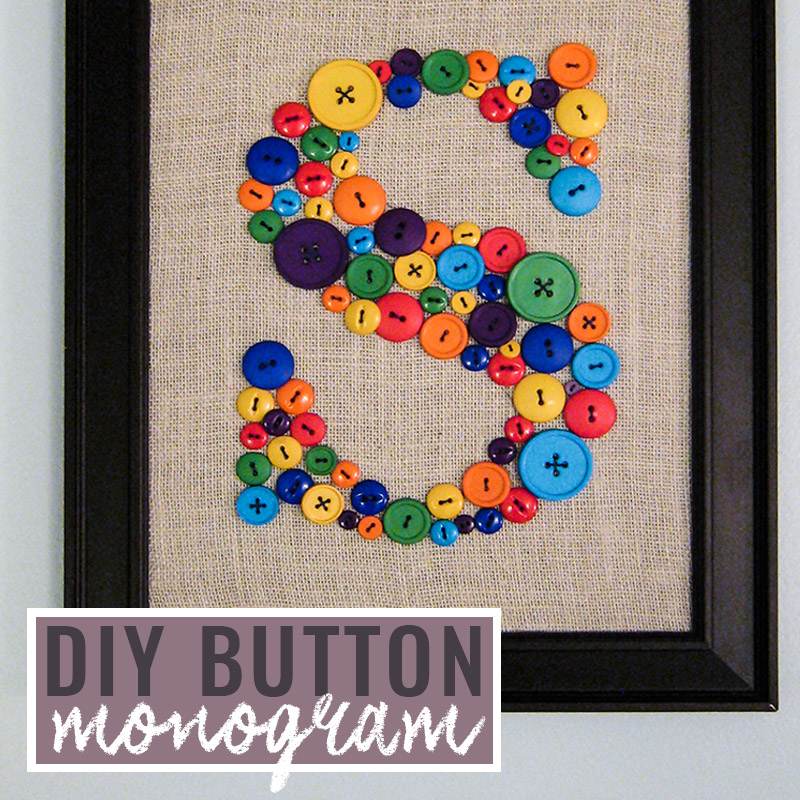
I’ve been on the hunt for very budget-friendly DIY wall art ideas for my son’s new toddler bedroom, and this little button monogram fits the bill.

What You Need
- Assorted buttons (I got mine from JoAnns)
- Fabric (I used burlap)
- A solid frame (mine was a charity shop find)
- Needle & thread
- Cardboard
- Printer
Cost: from $5
Time: Under four hours
DIY Monogram Wall Art: How To
I started by printing a big old letter S, my Little Man’s first initial, in a font that was thick enough to fill with buttons. I blew it up so it almost filled a regular sized sheet of paper (and therefore the frame), then cut it out and traced around it with pencil onto my fabric. Tip: use a disappearing ink pen if you have one.

I laid out all the buttons. Because the assortment I used had a decent range of sizes, I wanted to make sure they were all evenly spaced throughout the monogram. I didn’t want clusters of little buttons or a lump of big ones either.

Then began the long but oddly therapeutic process of sewing each button onto the burlap one by one until the DIY monogram was complete. It took about three and a half hours. Then I secured it to a piece of thick card stock with staples, and popped it back in the frame. Boom: DIY wall art that adds a personalised touch to your kiddo’s space.

Love it. It cost me all of about $5, since I already had the fabric and the frame on hand. And the Little Man likes it too so, you know, #winning.
After a couple of requests, I made two more button monograms for some of our little besties.


If you’re after more thrifty DIY ideas for kids rooms, you might want to read about the upholstered bed, slipcovered glider, or polka dot wall, or check out all my DIY projects here.

Very Cute!!